STEP 2
Context of Use Workshop
We ran a collaborative workshop to unpack the real-world conditions surrounding the product.
We the explored 5 components of the context of use :
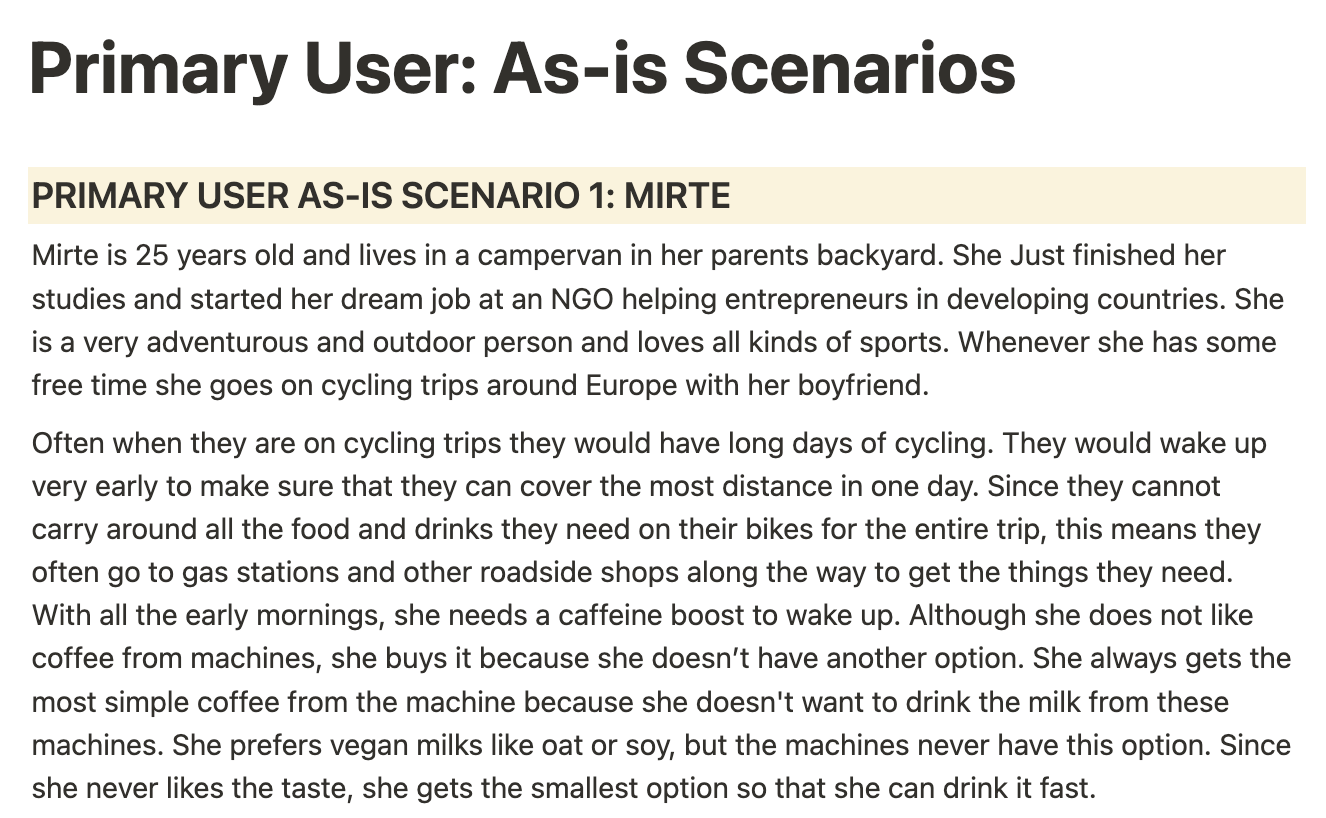
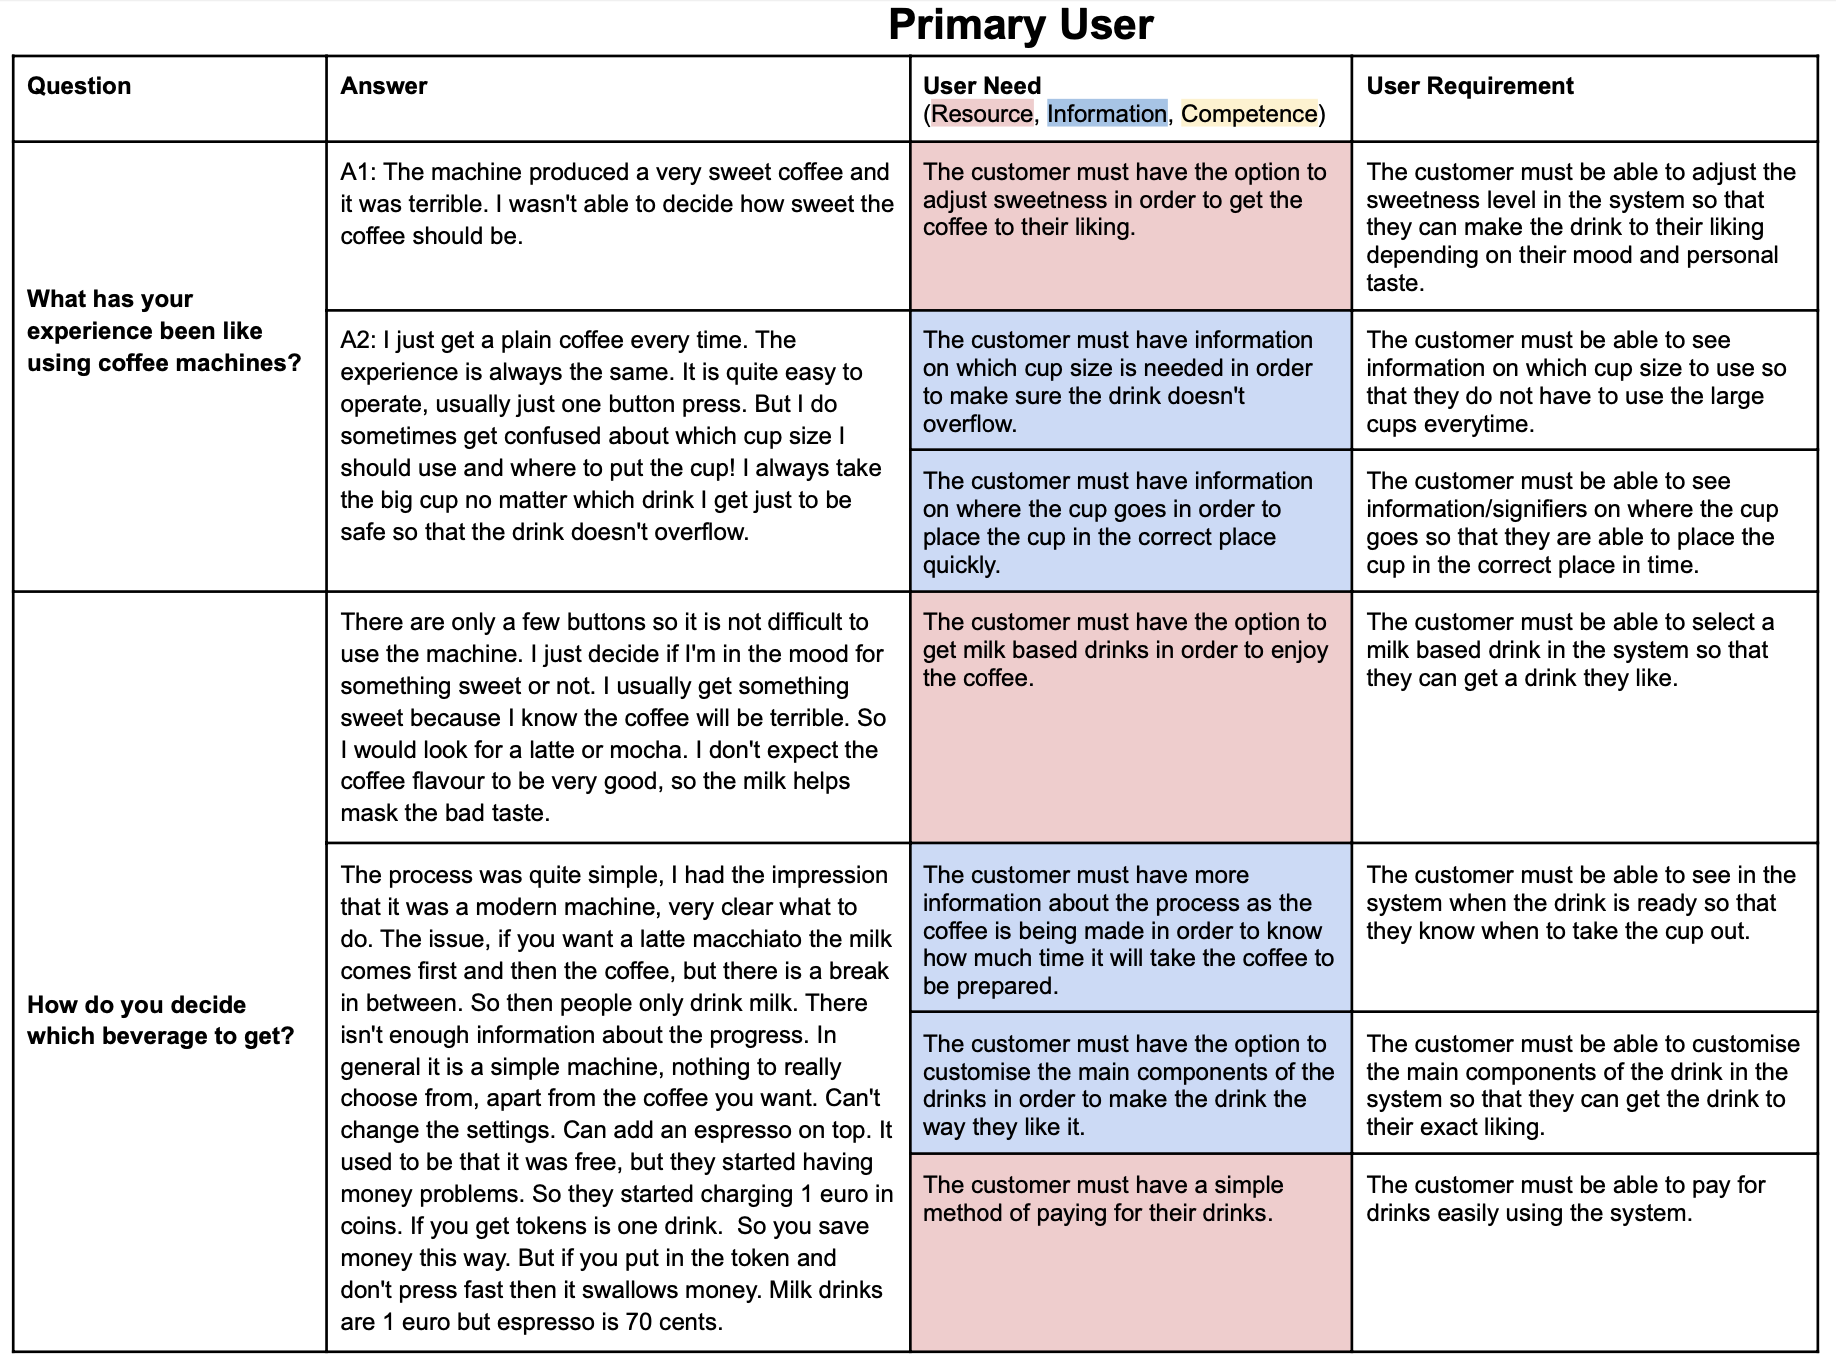
• Users: Coffee lovers on the move
• Technology: Smartphones and vending systems
• Environment: Inside cars, rest stops, and parking lots
• Goals: Stay energized and take a refreshing break
• Resources: Time, attention, money
STEP 9
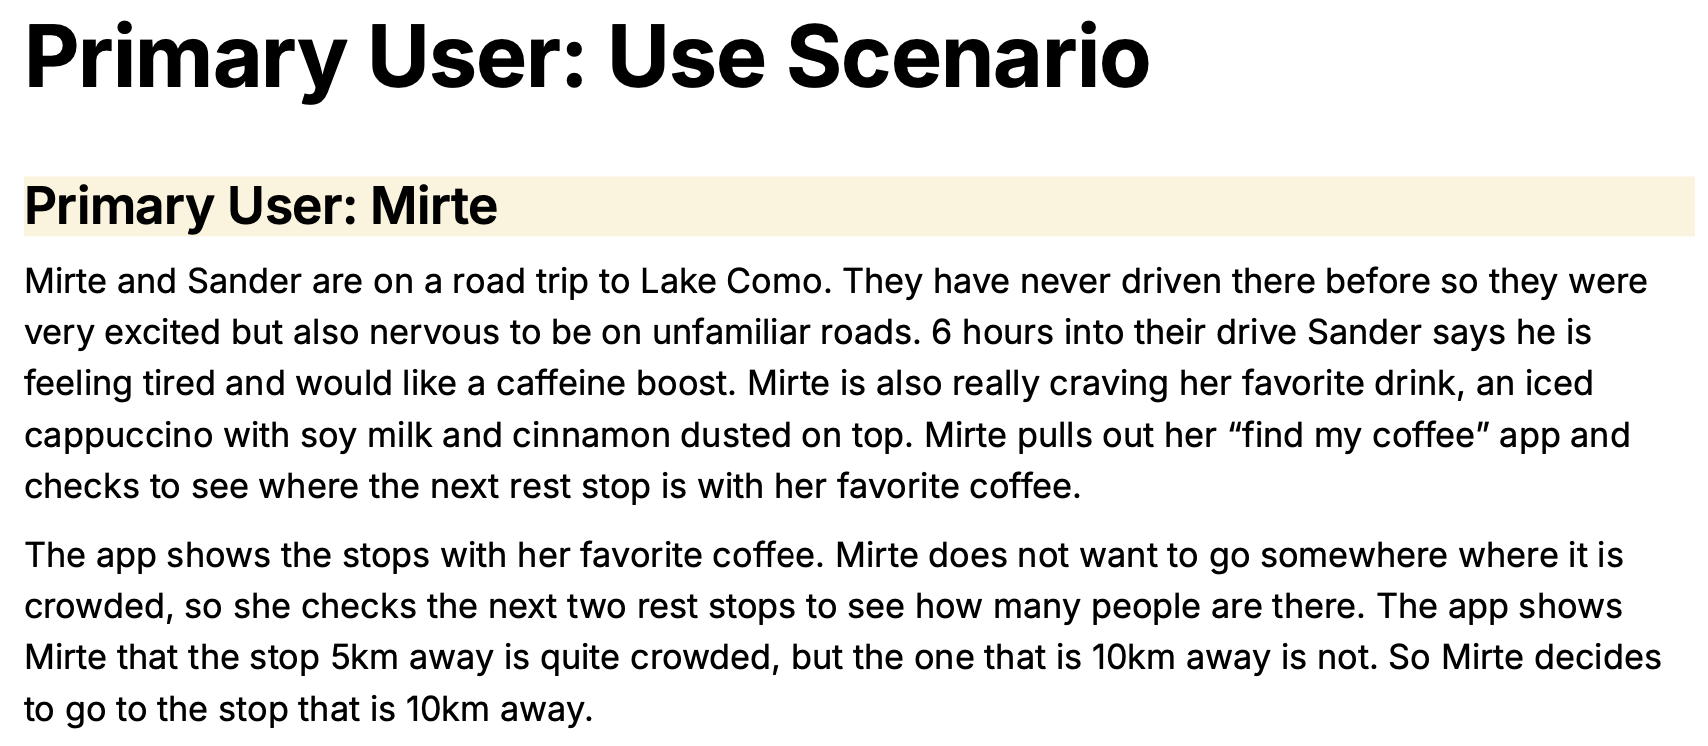
Storyboarding
I illustrated a short visual narrative showing how a user might interact with the product in context. This helped communicate intent to both technical and non-technical stakeholders.


.png)